
How to Set Up Your Japan eSIM: Step-by-Step Before You Fly
Buy, install, and activate a Japan eSIM in under 10 minutes — do the install at home on WiFi, then flip it on the moment you land. Full walkthrough with common mistakes to avoid.

Buy your eSIM online, install it at home over WiFi, then activate it the moment you land in Japan. The whole process takes under 10 minutes and should be finished before you leave for the airport — not something you troubleshoot at baggage claim with no signal.
Arrival stack (pair these)
Do these in order on arrival day — each guide links the next:
- Visit Japan Web — immigration/customs QR before you land
- Narita vs Haneda — which airport and how into the city
- Best eSIM for Japan · eSIM vs pocket WiFi · eSIM setup — data on landing
- Suica / Pasmo · Mobile Suica on iPhone — trains, buses, konbini taps
Step 1: Confirm Your Phone Supports eSIM
Before buying anything, check compatibility. You need:
- iPhone XS or newer (XS, XR, 11, 12, 13, 14, 15, 16 series and later)
- Google Pixel 3 or newer
- Samsung Galaxy S20 or newer
- A phone that's carrier-unlocked — a phone still locked to your home carrier can't install a second eSIM profile
Check on iPhone: Settings → General → About → scroll to "Carrier Lock." It should say "No SIM restrictions." On Android: Settings → About Phone → look for an eSIM or "Add eSIM" option under network settings.
Step 2: Buy the eSIM Online
Pick a provider based on trip length — see our full Japan eSIM comparison for prices. Short trips (under two weeks) generally do best with Ubigi or Airalo; longer stays do better with Sakura Mobile or mobal. Checkout takes a few minutes and you'll get a confirmation email with a QR code and a manual activation code as backup.
This article contains affiliate links. If you buy through one, we may earn a small commission at no extra cost to you.

Cheapest 10GB bundle, SoftBank/KDDI network

From the makers of NordVPN — cheapest small plans
Step 3: Install the eSIM at Home, on WiFi
This is the step people skip, and it's the one that causes problems. Install the eSIM profile before you fly, connected to home WiFi:
On iPhone: Settings → Cellular → Add eSIM → Use QR Code → scan the code from your confirmation email → follow the prompts.
On Android (Pixel/Samsung): Settings → Network & Internet → SIMs → Add eSIM → scan the QR code.
Label the new line "Japan" so you don't confuse it with your home SIM later.
Step 4: Leave It Installed but Off
Once installed, turn the Japan eSIM line off and leave your home SIM as the active line for the rest of your pre-trip life. You've done the hard part — nothing left to do until you land.
Step 5: Activate on Landing
After you land in Japan (or once you're off the plane and have WiFi at the airport):
- Go to Settings → Cellular (iPhone) or Network & Internet → SIMs (Android)
- Turn the Japan eSIM line on
- Turn Data Roaming on for the Japan line only
- Turn Data Roaming off and cellular data off for your home SIM (keep it enabled for calls/texts if you want to stay reachable on your home number)
- Set the Japan eSIM as your default for Cellular Data (not for calls/iMessage, unless you want that)
Give it 1-2 minutes to connect to the network. You should see a signal indicator and be online.
Common Mistakes That Break Activation
- Activating before landing. Some eSIMs start their validity countdown (e.g., "10 days from activation") the moment you turn on roaming — do this after landing, not on the plane.
- Leaving home SIM data roaming on. This is how people get a surprise charge from their home carrier — double check it's off.
- Not installing on WiFi first. Airport WiFi is unreliable and installing (not just activating) requires a stable connection. Do it at home.
- Confusing install with activate. Installing puts the profile on your phone. Activating turns it on and starts using data. You can install weeks in advance; only activate once you land.
If the QR Code Won't Scan
Every provider also sends a manual activation code (an SM-DP+ address and activation code) in the same email. On iPhone: Settings → Cellular → Add eSIM → "Enter Details Manually" and type in the codes. On Android, the equivalent is usually labeled "Enter code manually" in the same Add eSIM flow.
If neither works, restart your phone and try again — a surprising number of failed scans are fixed by a simple restart, since the eSIM installer occasionally hangs on the first attempt.
Test It Before You Need It
Once activated, open Google Maps or any app that needs data and confirm it loads. Do this at the airport, not after you're already on the train trying to find your hotel — if something's wrong, you want to be somewhere with staff and WiFi backup, not troubleshooting at Shibuya Crossing with a dying phone battery.
If it's still not connecting, see our Japan eSIM troubleshooting guide for the most common fixes.
FAQ
Should I install my Japan eSIM before or after I land? Install before you fly, on home WiFi. Activate (turn on data roaming) only after you land — this avoids early expiration on time-limited plans and ensures a stable install connection.
Can I install an eSIM at the airport if I forgot to do it at home? Yes, if airport WiFi is working, but it's riskier — airport WiFi can be slow or require sign-in, and you'll be doing setup with a flight-tired brain instead of at home.
Will installing a Japan eSIM affect my home phone number? No. eSIM lets you run multiple lines on one phone. Your home number and SIM stay untouched — you're just adding a second line for data.
What if my phone only has one eSIM slot and I already use eSIM for my home carrier? Most modern phones support multiple eSIM profiles even with one physical eSIM chip, but only a limited number active at once (usually one active + others stored). Check your phone's specs, or use a physical tourist SIM instead if you hit a hardware limit.
Do I need to remove the Japan eSIM after my trip? Not required — you can leave it installed and inactive for a future trip. Delete it only if you're low on storage for eSIM profiles or want a clean phone.
Need Help with This?
Have questions about How to Set Up Your Japan eSIM: Step-by-Step Before You Fly? We're here to help. Send us a message and we'll get back to you within 24-48 hours.

Alex Rivera
Travel & Living Editor
Expat guide. Helps people actually move to and navigate Japan.
Moved from London to Tokyo in 2018. Went through the full gaijin experience—visa, housing, banking, the works. Now writes the guide he wished he had.
Tokyo
Expertise
Moving to Tokyo, expat life, travel, Kyoto vs Tokyo, onsen
The Standard Newsletter
Tokyo in your inbox. Weekly.
No algorithms curating your culture. No sponsored content disguised as journalism. Just the real Tokyo — the izakayas at 2am, the Harajuku kids who never made it to the algorithm, the ramen shop with no sign.
8K+
Subscribers
Weekly
Editions
Free
Always
Join the underground.
One email a week. Unsubscribe anytime.
No spam. No sharing your data. Tokyo only.
Related Stories
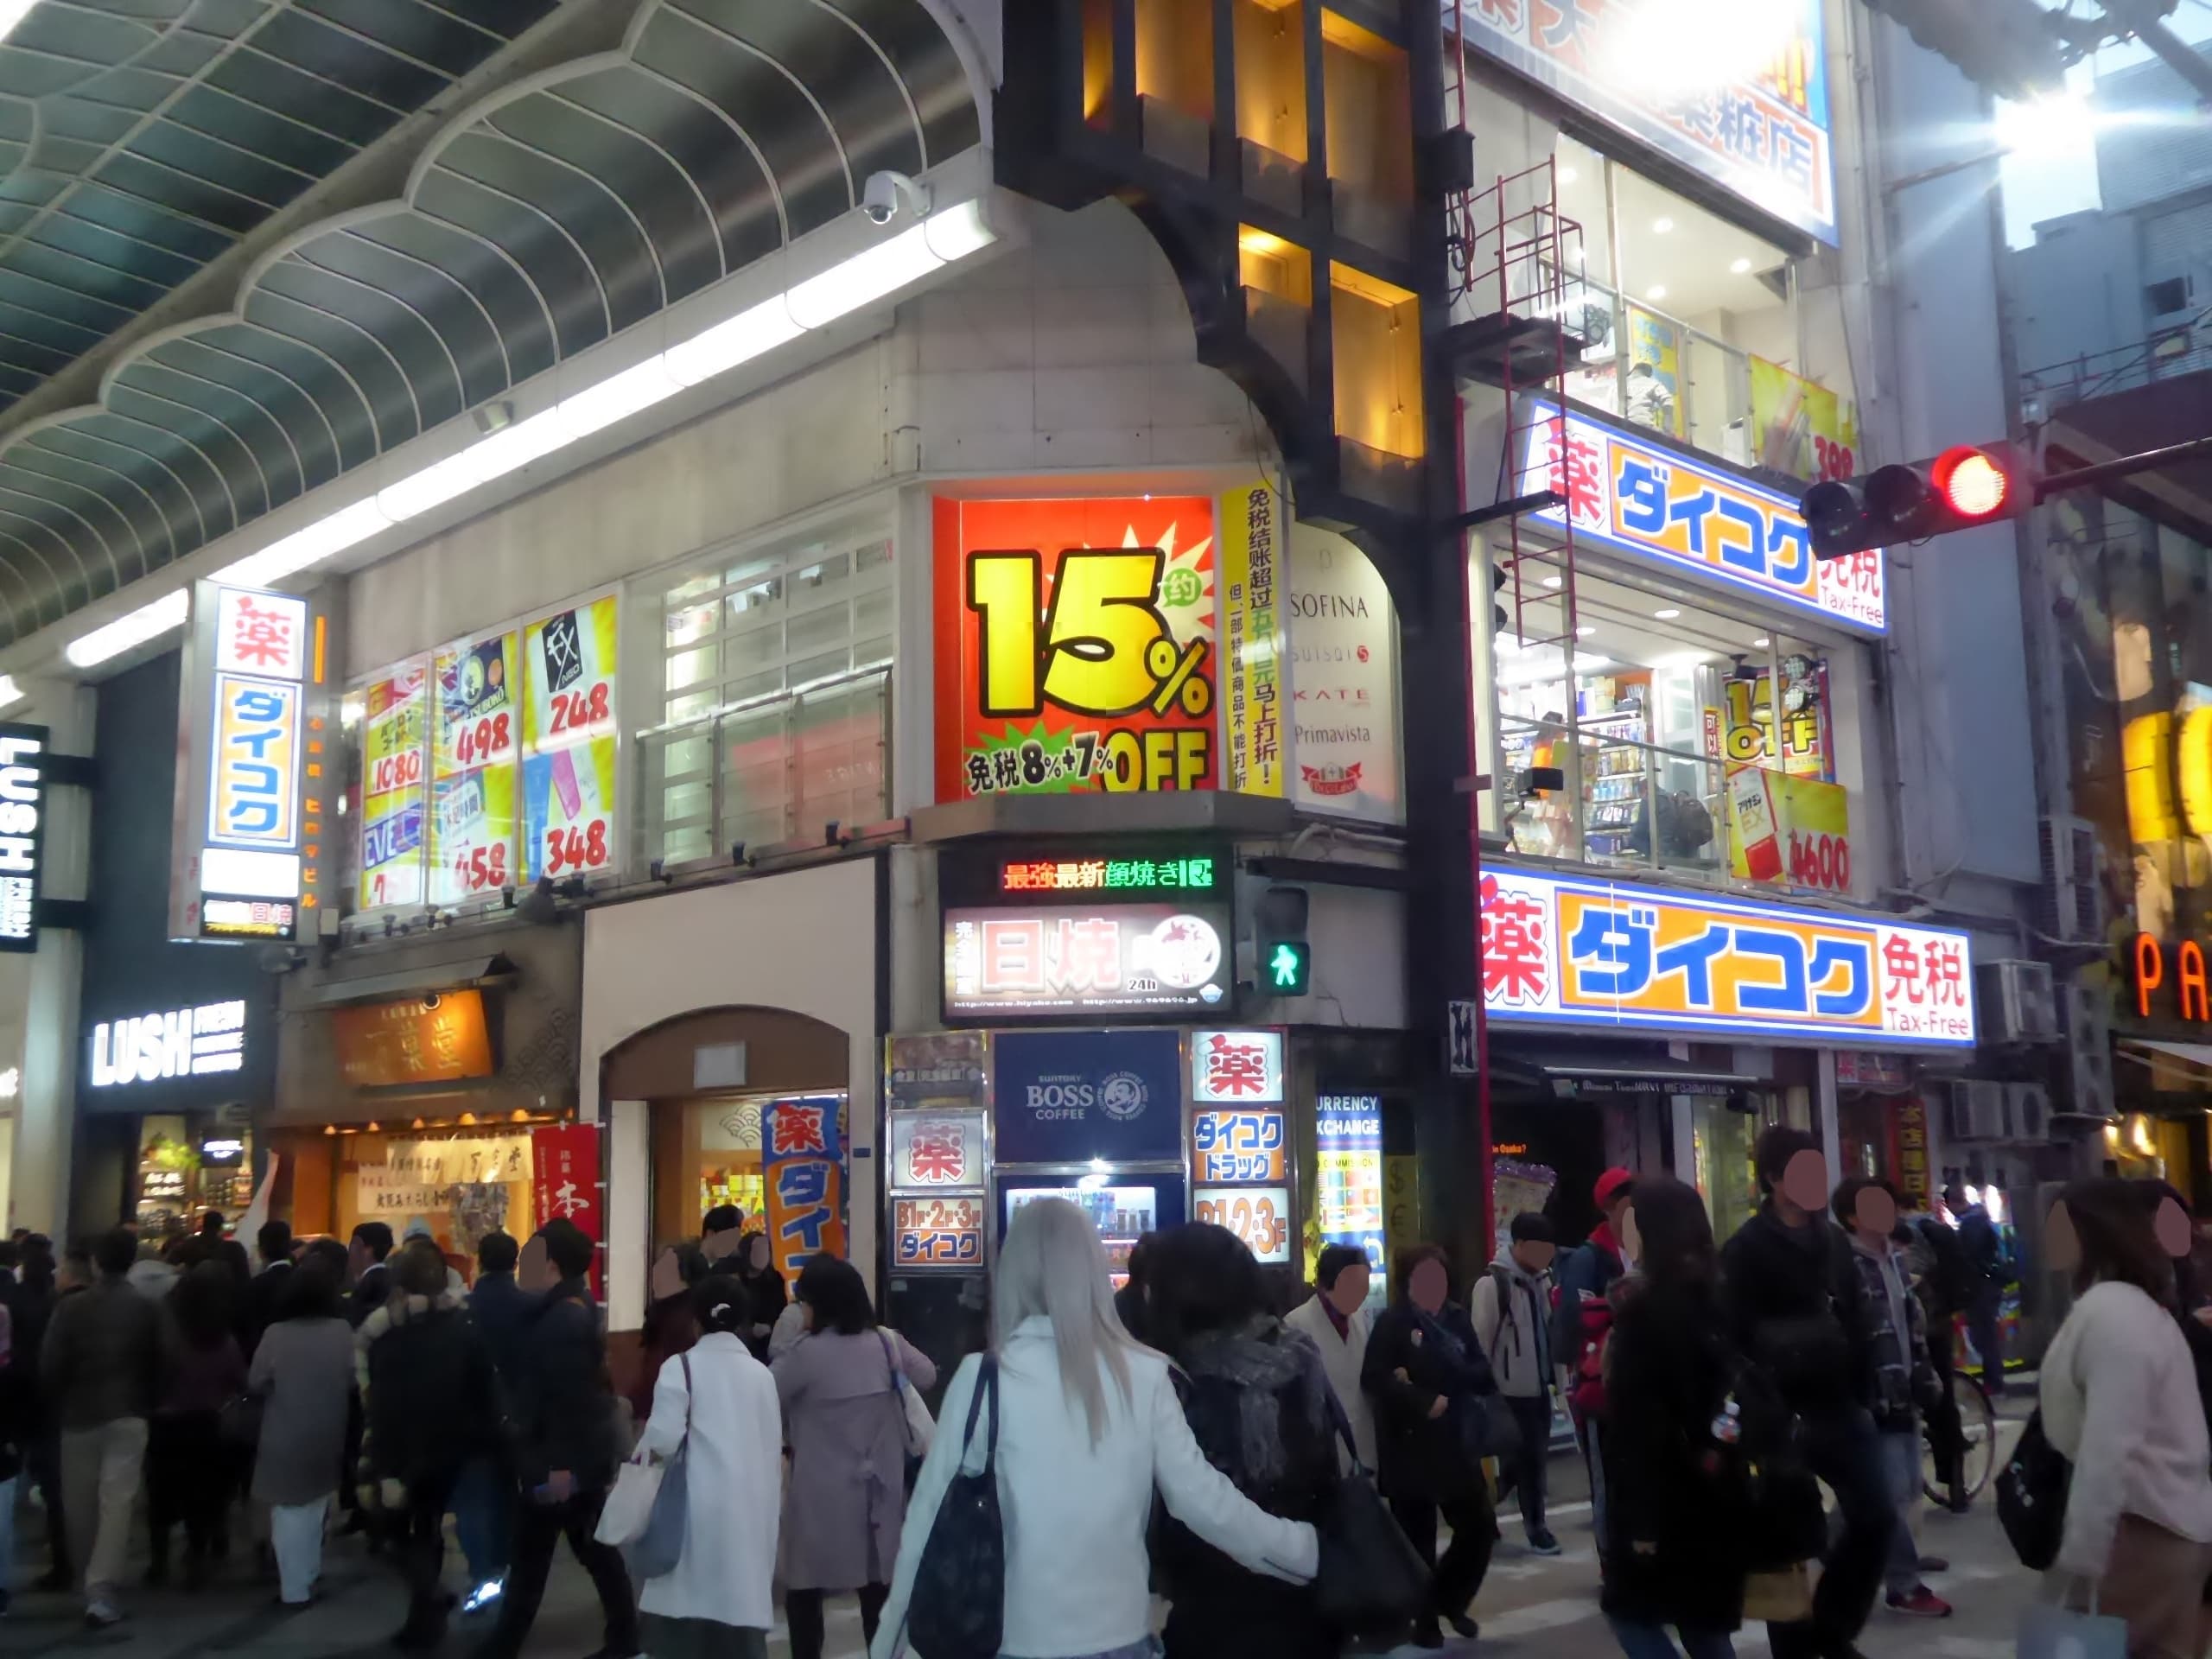
Japan Drugstore Guide: What to Buy at Matsumoto Kiyoshi and Daikoku Drug
Japan's drugstores sell better eye drops, pain patches, and skincare than most pharmacies back home. Here's what to buy, which chain, and how tax-free works.

Tokyo Mosques and Prayer Rooms 2026: Camii, Okachimachi, Airports
Tokyo mosques map: Tokyo Camii (Yoyogi-Uehara), As-Salaam near Okachimachi, Asakusa, plus mall and airport prayer rooms. Hours change — verify before Jumu’ah.

Bringing Medicine to Japan: What’s Allowed, What’s Not (MHLW Rules)
Pseudoephedrine cold meds and ADHD stimulants like Adderall/Vyvanse are high-risk. Personal-use limits, Yunyu Kakunin-sho, MHLW contacts, and Japanese pharmacies.